Equipment Choice


To achieve the greatest quality of production, I have realised that production equipment can not be skimped on and the better the quality of these, the more professional my project will be overall. As the purchase of a camera will eventually help for my work in University and will be useful for recreational activities, I decided to upgrade. Selling my Canon EOS 1100D which is Canon's beginners camera, I initially decided on a 650D which is a couple of models up, but essentially the same with 1080p video recording. As I found it on offer, however, and it essentially means I will never need to buy another upgrade, I opted for the Canon EOS 60D which supports 1080p video and also sports a much wider range of ISO and array of features unavailable on other cameras. 


Alongside this, I am using the tripod I used for my AS Production which is very lightweight, but sturdy so can be used for stable shots, but is portable enough for stabilised, handy cam shots. 
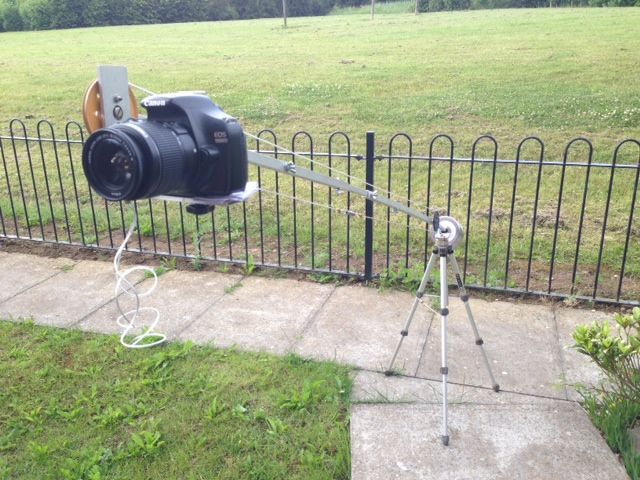
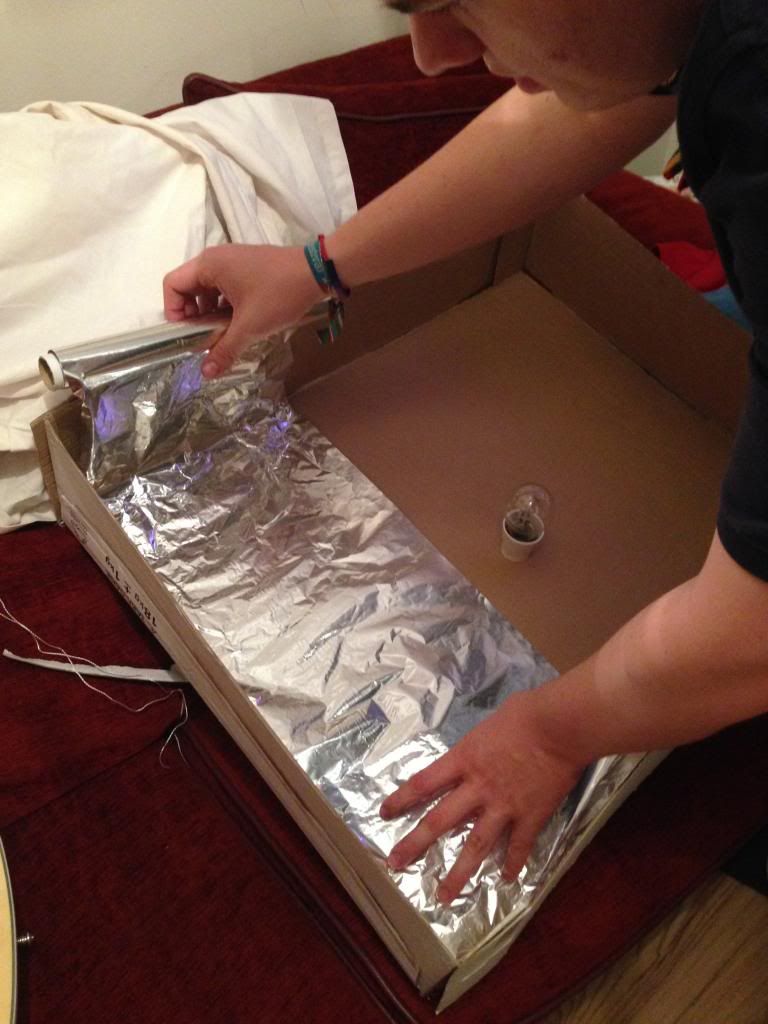
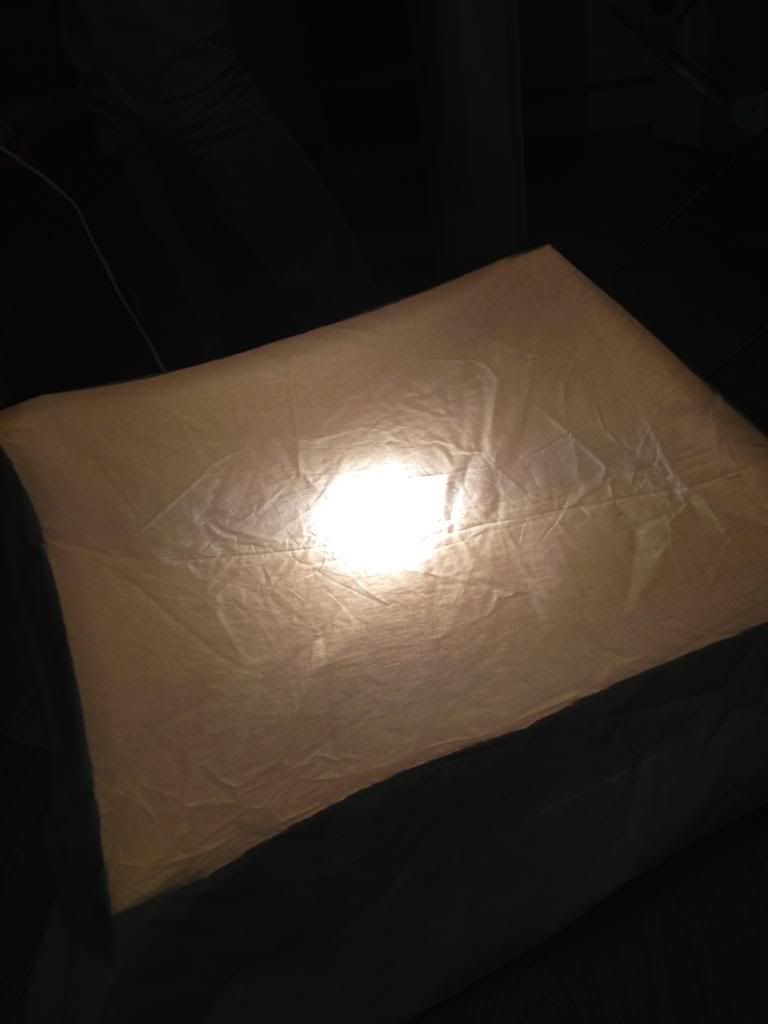
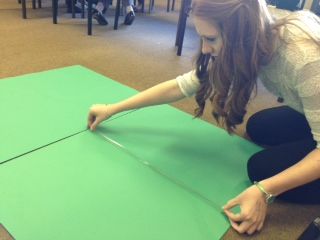
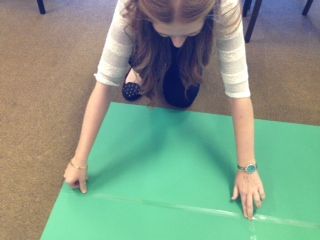
On top of these two, essential pieces of equipment, there are a number of specialist implements I plan to use which will embellish and accentuate my project perfectly, adding that desired professional feel. These include the Camera Crane I have already featured a post on and a soft box of my own design and build. Below are a few pictures of the process and explanation of it's components.
Soft Box

The soft box consists of:

  • Clamp light
  • White sheet
  • Cardboard box
  • Tinfoil
  • Stand
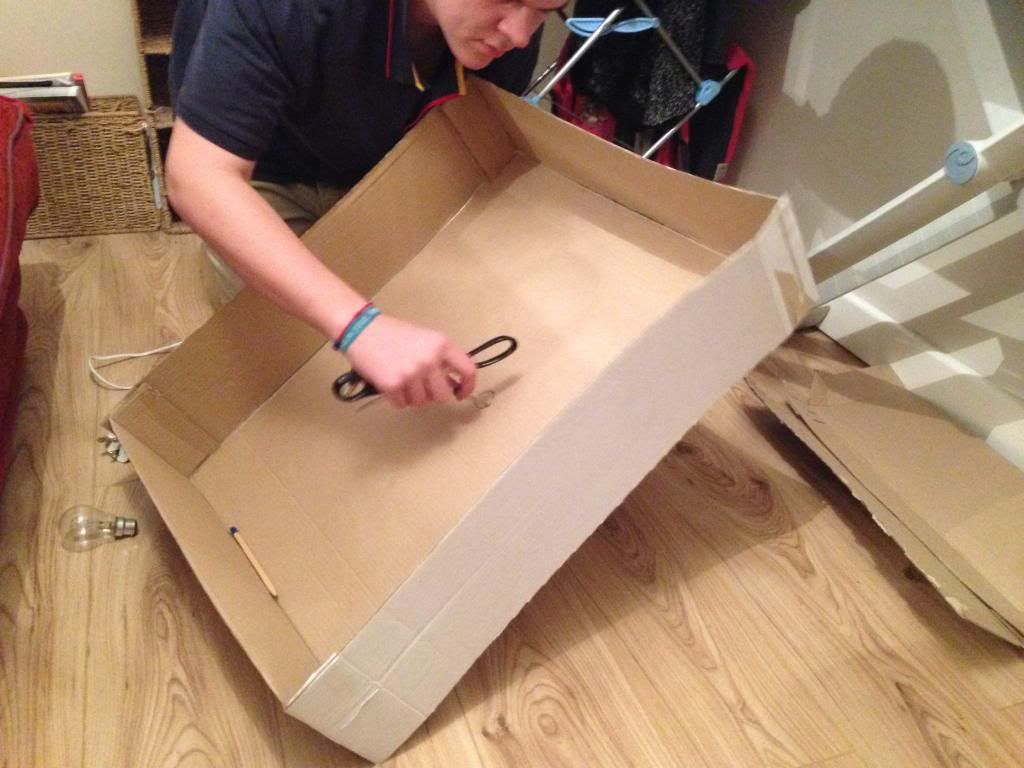
Forming a small, lidless box out of larger sheets of cardboard, I began the softbox. I then measured the circumference of the clamp light so that it could be mounted in the box' back. 
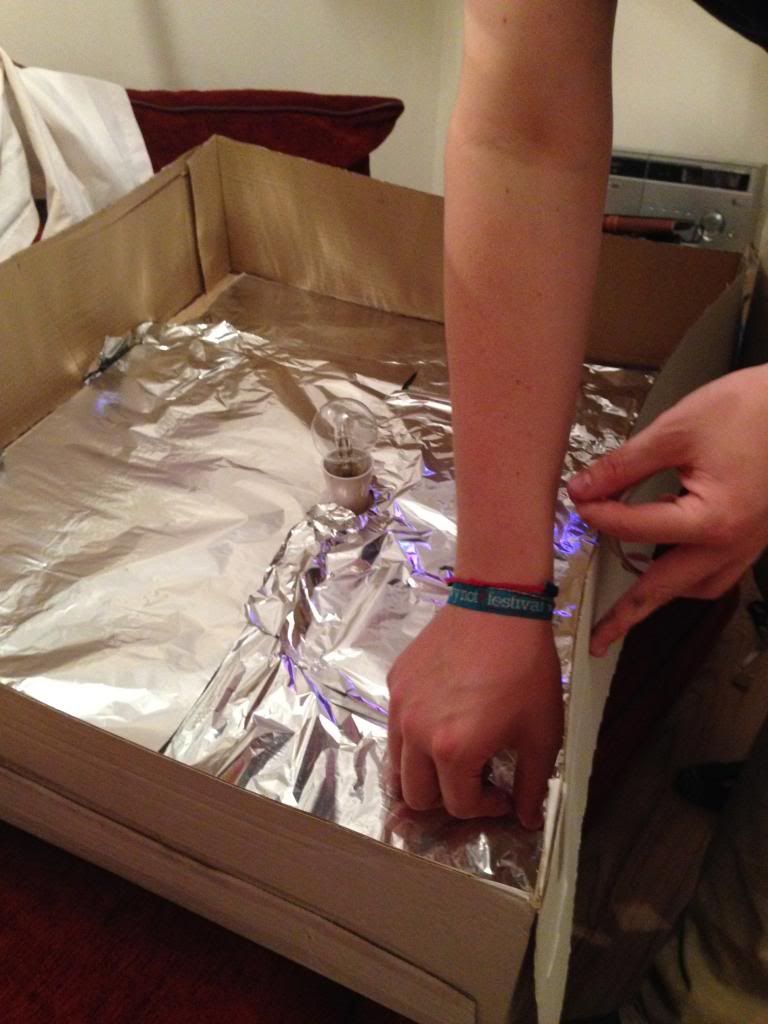
Firstly, I placed the white sheet over the cardboard at this time, but the light did not reflect enough around the box and was too central (left). To remedy this, I decided to line the box with tinfoil which works by bouncing the light around the box and then through the dampening sheet. 

With this lining, the light spreads much better and it can even be used without the sheet as a powerful 'flood' light should my setting be dark enough for it. This is a very cheap, but effective way of achieving a well lit scene and it should help a lot for production. As the light bulb is a tungsten, indoor bulb I may have to alter the white balance on my camera for the scenes I involve this in - especially if it will be the main source of light for the shots.

Revision of Shot Design

Some of the shots in my storyboard are quite adventurous. Those that are adventurous can be categorised into those that I know will work, but may need some planning before hand and those that I have never tried before and cannot be sure will work. 

The most difficult of these is a ghosted shot made up of two identical shots, one with just the background and one with the background and actors. Overlaying these two shots and reducing the acting layers opacity produces a ghosting effect. 

I have other shots similar to this, but the difference here is I want the camera to slowly track around the characters. To produce the effect I would need to reproduce the exact same movement for two separate shots. Due to how difficult this is, I attempted to test the shot which added the obstacle I expected; producing the same movement is nigh on impossible and I can not be sure I will be able to do so smoothly. 

To remedy this, I revised the shot and now know how I will successfully produce it. Acquiring green paper from the Art department at my school, I have been able to redesign a working shot using a portable green screen where the background of the acting scene does not need to be the same and it can be superimposed over the top. To acquire the shot I will film the scene twice. The first shot is a 360 pan around a spot as if there were characters in the centre. To accompany this, the green screened shot will involve the actors dancing and spinning on the spot to recreate the camera movement. Editing these two together, if the speed is the same, will look like the shot was filmed as one and the movement is entirely natural.

Marketing and Distribution

In a hypothetical sense, if this project was to be produced by anyone other than a student in school, certain areas would need to be funded. I was able to secure locations and equipment through both the fact that I am a student and my own involvement in building and designing etc.

The night club that agreed to allow me to film, for instance, is a business. If the project was being produced for a profit, therefore, the hire of the room would be factored in to the budget and they would most likely charge whoever was producing the Music Video. I also used the resources to my disposal such as the actors car and my own home rearranged to suit the scene. A much more desirable affect could be achieved by designing a set from scratch and using a studio, for example. This would require funding for hire and materials to do so which must be funded.

In terms of equipment, both the camera crane and dolly were funded by resources I could acquire for free and individual budgets devised by my colleague and I. The best option would have been a professional jib, but again, funding factors in.

The funding for these purposes would most likely come from both the Production company producing the project and the artist who the project is for. Where funding from these two bodies is scarce, there is the option to apply for funding from public artist funding organisations or private charities. Organisations such as the Princes trust are interested in projects such as this as they promote both the producer and artists. They, also, offer mentors who are knowledgeable in the goal the fundee is attempting to help. This, however, is difficult and can not be done by many. Larger artists set to reap large profits, for instance, would not be entertained as they should have the capital to create the video to begin with. My own project, as it features an unsigned artist would be eligible for funding as they do not, necessary, have much backing.

The History of Music Videos

The term Music Video can no more easily be wholly defined that the term Film. In many ways, Music Videos are all films; a combination of Visuals and Audio to entertain or evoke some form of emotion from the audience. The earliest dated 'relative' to the music video would be The Little Lost Child by Edward B. Marks and Joe Stern who commissioned a visual track to be created which was timed to synchronise with the song itself. This was known as the illustrated song and, from there, the genre ballooned.

The late 1920s brought with it the Sound Film (Synchronised Film to Music) which became an incredibly popular method of promoting an artist's song or album. Pinpointing the advent of the modern Music Video is tricky and impossible to be entirely precise, but the narrative style Video did not come into full fruition until the late 1970s and early 1980s. Prior to this, videos were predominantly performance show cases such as the plethora of Beatles hits which featured each member playing their respective instruments for the duration of the song. Post 80, however, Videos such as Michael Jackson's Thriller and Bad were released; the former including a defining moment in film history showing one of the first CG Werewolf transformations and the latter having been directed by the world renowned Martin Scorsese. This shows the integration Music Videos have with the Film industry and how much they have now progressed, from small accompanying stills to full blown epics to the extent that the most expensive Music Video to date cost $10.5 Million after inflation (Michael and Janet Jackson's Scream); seen as some films cost a miniscule fraction of this, the influence and importance of Music Videos are evident.

Camera Dolly

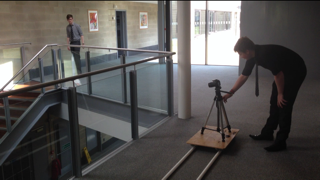
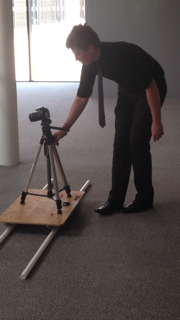
Along with a colleague that I worked with last year for my AS Production, I designed and built a portable camera dolly for complex tracking and moving shots. Using the schools facilities and a small budget subsidised by ourselves, we created a very useful implement that when used correctly produces really nice, professional looking shots.


What we found, however, was that without weighing down the board of the dolly, the movement was shakey. Our progression in learning about this process can be seen by the steadiness of the final shot. We decided to borrow weights from the Science department which worked perfectly.


Assembly

The main components of the dolly were as follows:


  • 3m PVC Pipe x2
  • Wooden Board
  • 8 identical bearing wheels
  • 4 steel angle plates
  • Miscellaneous 1/4" nuts and bolts
A creation such as this required a small amount of equipment and as my Uncle - who helped me with the crane - was unavailable for this project, we utilised the available facilities in school. These included:
  • Pillar Drill
  • Alan Key
  • Pliers
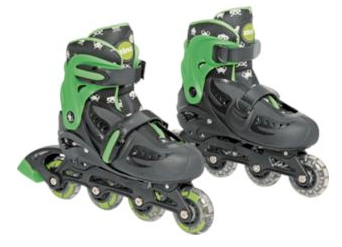
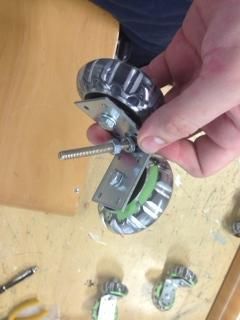
The most important component was acquiring the identical wheels. Upon researching these wheels, we found that individually they were quite pricey and bulk ordering didn't help much. We, therefore, decided the best route would be to purchase rollerblades and dissemble them. This being the most expensive aspect of the build costing us £14.99, though saving us in the long run. We mounted the resulting wheels to angle plates which could be suspended below the board to run on the PVC pipe.

The end result was a great, low budget dolly that, with the right execution, can create beautiful, professional shots.

Song Change

Contrary to my previous posts, I have decided to slightly alter my plans in relation to the song choice. Originally, I had planned to use the song Tin Pan Alley by The Gaslight Anthem, though in retrospect I don't feel the song suits. Firstly, I am fan of the song and not particularly the official recording. To therefore use the song, I would have to record my own version, potentially wasting time on a mediocre recording. Secondly, I feel that the lyrics and story-line of the song stray from the idea I have confirmed for the visuals. 

To remedy this, I began to browse Unsigned.com to find a good choice of song which not only would be more suitable, but would allow me to use it without having to record my own version along with less restrictions on copyrights from the label. Fairly quickly, I came across an artist from Canada called Daniel Lewandowski who's acoustic song So Far (Now titled All I Want) immediately felt like the perfect choice. On further research, I found that he released a Studio version which I liked equally. Soon after this I was able to contact him to which he replied graciously giving his blessing to use the song. In addition, he has offered to create an improved mix of the song to my feedback to merge the acoustic and studio versions, in keeping with my original, acoustic premise. 


Storyboard ideas

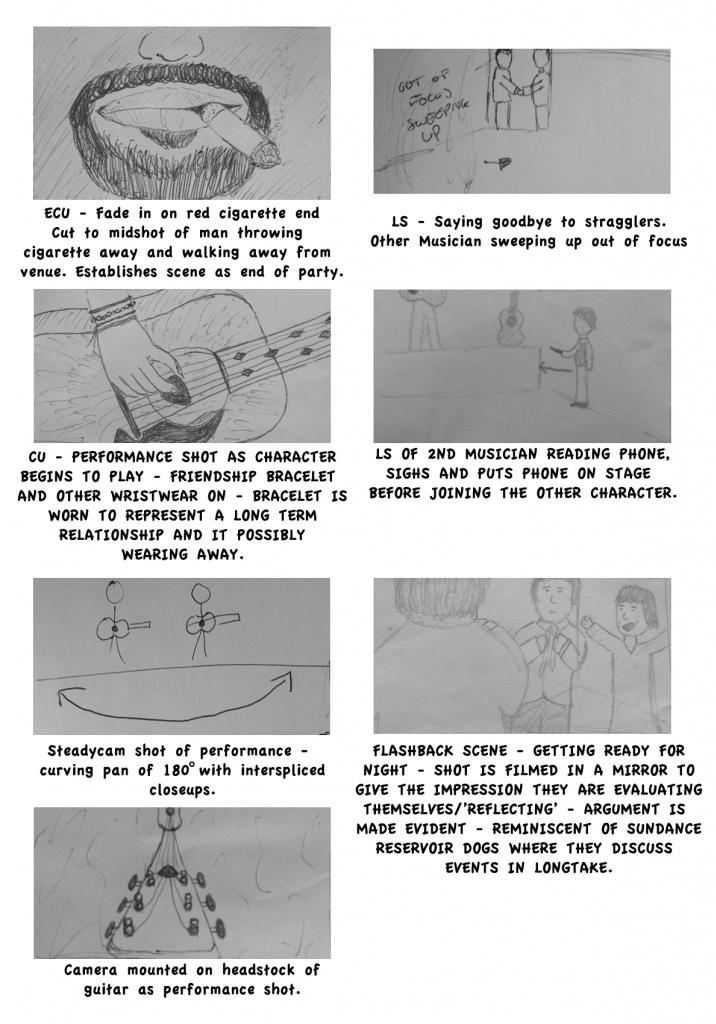
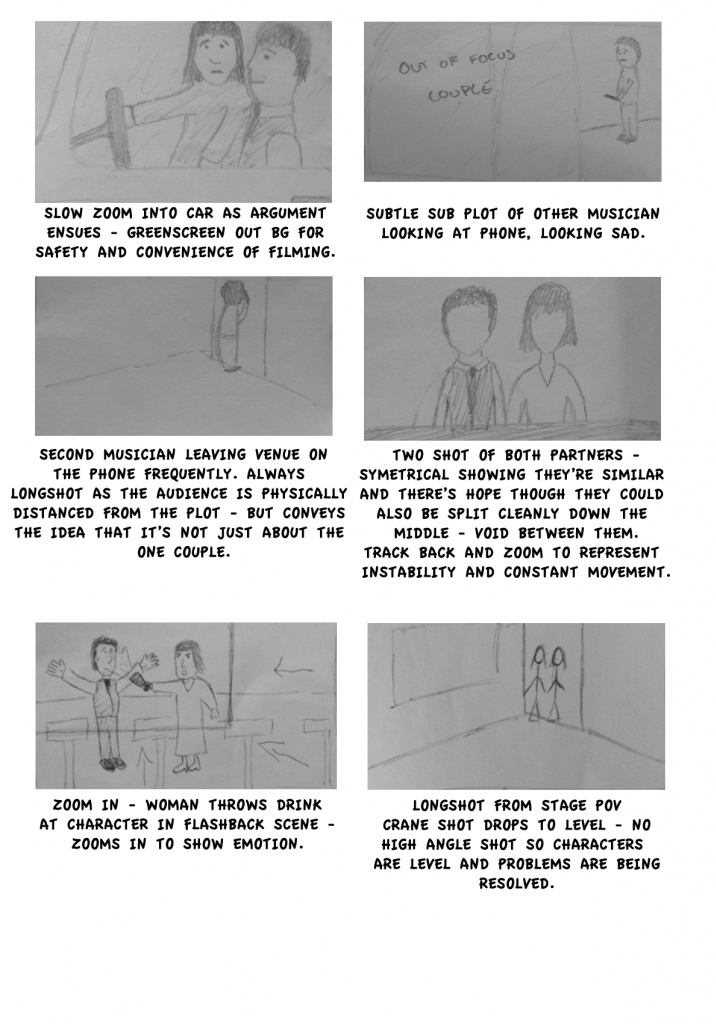
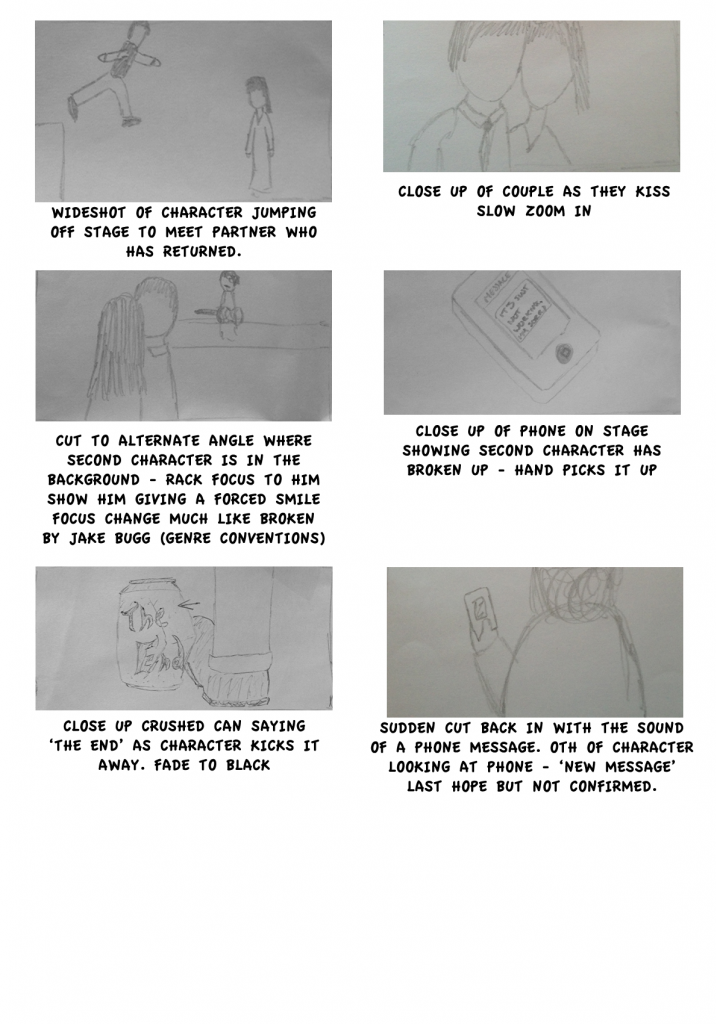
To complement my Moodboard and to begin fleshing out my initial idea, I have designed a storyboard of significant shots, detailing why they have been chosen and what they represent. The proceeding post will include a shotlist, which works along side the Storyboard, but goes into much greater depth and will, ultimately, aid me in completing the final Music Video.

Click the images above to enlarge them